

LATEST RECIPES


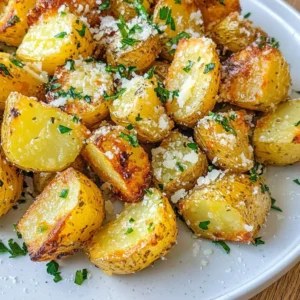


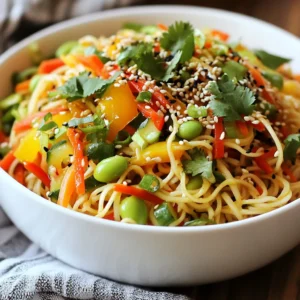
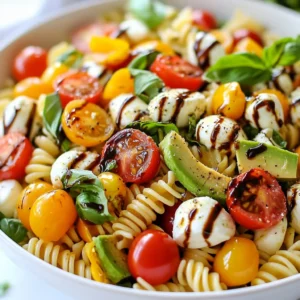

LET'S GET COOKING!
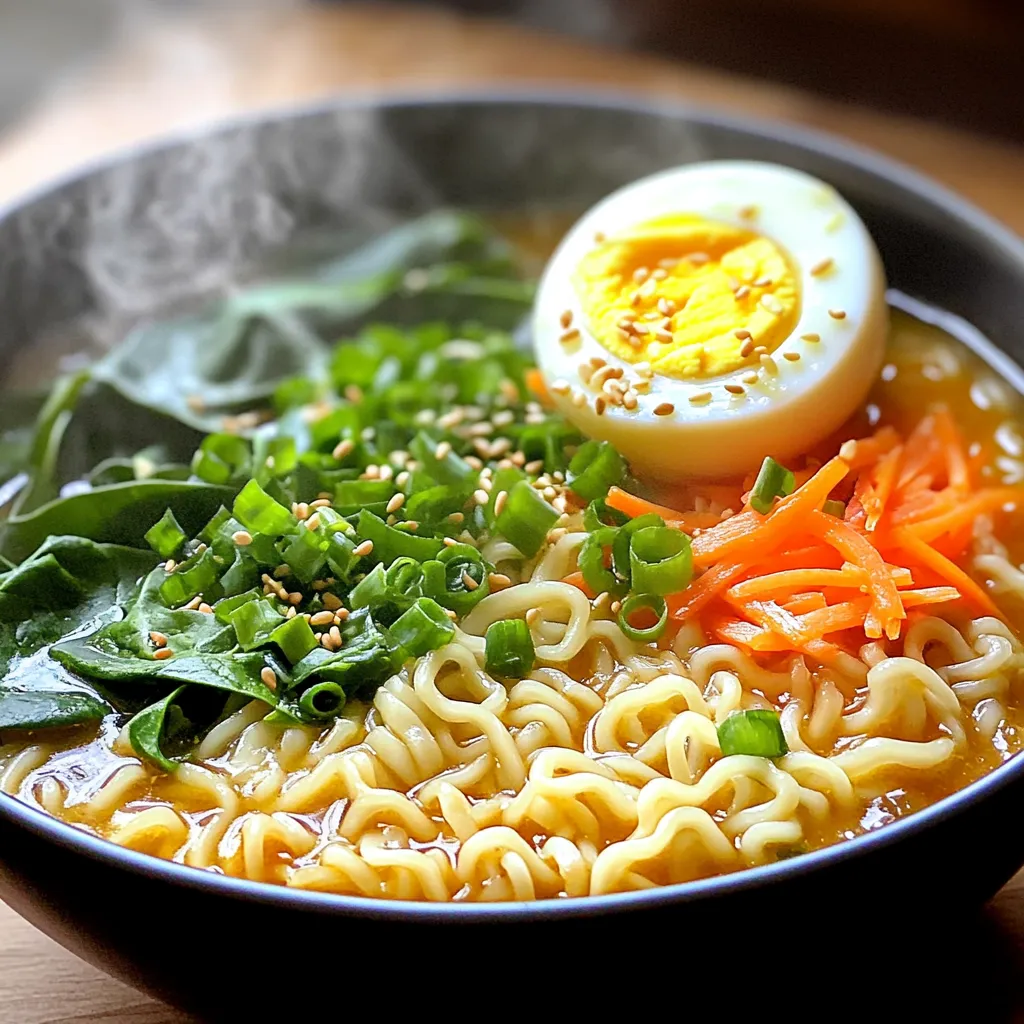
Minute Spicy Garlic Ramen Bowls Bold and Flavorful Dish
Craving a quick and bold meal? Dive into my Minute Spicy Garlic Ramen Bowls! This dish bursts with flavor, making it perfect for busy nights...
Read Full Recipe →